Pages

Saturday, October 5, 2013

Hello!

Hello polishaholics!

I'd like to say I'm sorry I haven't been around much but hell, I haven't been around long enough to be missed.  I can accept that.

I've been busy as all get out.

First off after a long medical leave from work I returned to work April 30th.  That alone has kept me extremely busy.  Add in I've being doing a ton of travel for work as well.  I'm typically gone 3-4 nights a week.  That sucks but it is much better than driving 1000+ miles a week.  Plus the travel frequently puts me in close proximity to my grandson, family and friends.

The other thing that has kept me busy is that some of my babies, my pets, have decided to have babies.


These beauties hatched on July 3rd and July 6th, 2013.  They stayed with the parents for the first six weeks (nearly) and have been travelling with me since.

Here is a picture of them just taken today.


Yes, they grow so fast.  They are beautiful!  They are 4th generation hybrid macaws that I am calling "Paleo" macaws as homage to some history of natives of the Americas and their pure bred ancestors.  I know, silly but it is my choice, thats my story and I'm sticking to it.

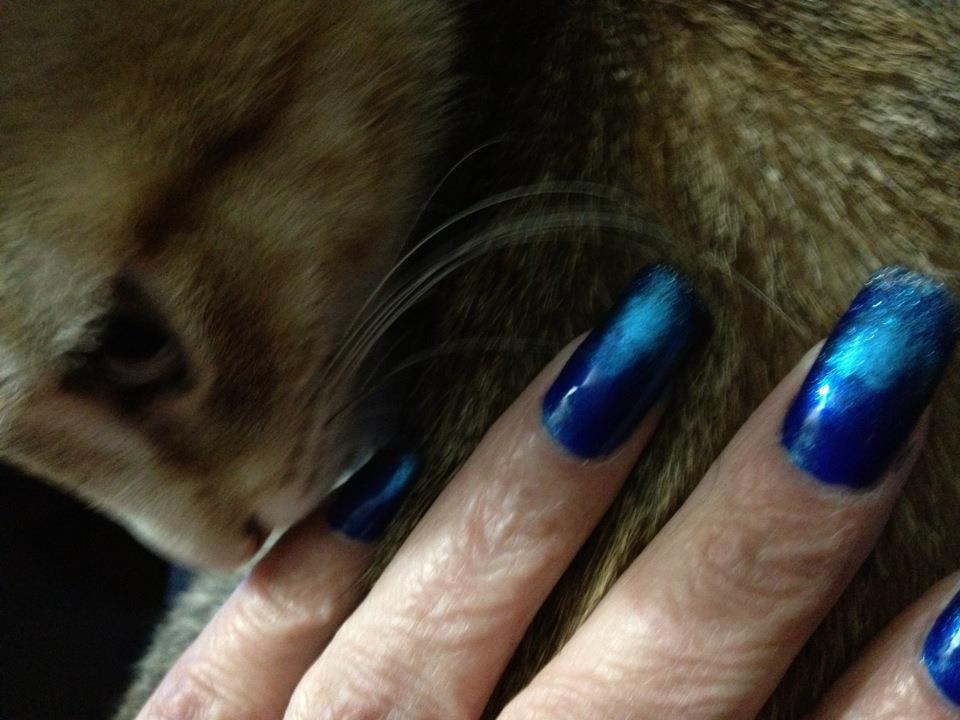
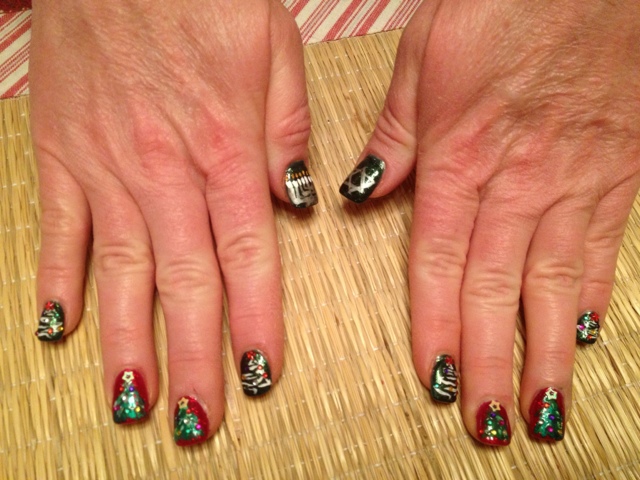
I have been painting my nails but due to time constraints I'm lucky if I can get a decent mani done.  While my nails are painted pretty at the moment it is just a plain polish job and i desperately need to do a full mani and pamper my cuticles a bit.

The babies are almost weaned which means I'm almost done hand-feeding them.  Once that wraps up I'll have more time on my hands.  So to speak of course.

I am officially on furlough right now thanks to the American governments inability to function.  While the not working has free'd up some time, I'm using that time to get caught up on work around my house that has been put off because of the travelling.

Ugh!

Eventually things will once again normalize and I'll be back to my favorite "ME" activity.


Thursday, April 18, 2013

Victorian Flowers


So I'm cruising around Google images looking for inspiration when I came across this photo. Isn't it pretty?  Being spring and a lover of lilacs I have found my inspiration.
This photo kinda reminded me of a newspaper nail/pink rose tutorial by Robin Moses which I promptly checked out so shout out to Robin for some of the inspiration of this manicure.


I painted the pallet last night.  That is the base for this design.  Two coats of a noname white polish then a frankenpolish mix of browns and golds to give  the white an antique look.  Other than the base, all the rest of the painting was done with acrylics.

I did do the newspaper deal to the nails but with all the painting I did you really can't see.  

I started by painting brownish stems for the roses and greenish stems for the lilacs.  A couple of color coordinated leaves where painted in too.

Some of the newsprint is visible on this nail.

The roses were painted with pinks and the lilacs with purples.  Duh.  Job finished with a clear coat to seal in the design.

I am just tickled pink over this mani.  I can't get over just how gorgeous it looks in person.

Notice my cuticles are not yet fully recovered from the massacre.  :-(

Nail Splits

Been busy as all get out lately.  I just love it when the weather warms up!

So I have a couple of things to say about this photo.  First being - See the damage I did to my cuticles by doing my nails when I was half asleep?  Yup I'm an idiot.  On the upside though they will heal.

Secondly notice the vertical split on each nail?  I have no idea how I managed that.  I'm using some glue over the splits for a bit of strength hoping that I can grow them out without any major breakage.  

The cuticle butchering was done the same evening I did my acetone experiment.  I'm definitely going back to regular use of my acetone/coconut mix.  I can't remember the last time my nails looked so dry.  Yuk!


Wednesday, April 3, 2013

The Big Box of Bling

As I was putting away my acrylic paints I pulled out my big box of bling for a photo.


Just a simple stacking 6.2 quart plastic container with a snap on lid.  At approximately 2.5 inches deep it is perfect for my larger bottles of glitter.

Sorry but I'm not dumping it out for photo purposes, there is too much in there.

Contents include;

Various shapes, sizes, colors of microglitter.
Micro beads and multiple colors.
Chipped shells (mother of pearl) in various colors.
Glequins in various shapes, sizes and colors.
Mylar confetti in various colors.
Pearls in various colors, shapes and sizes.
Rhinestones in various colors, shapes and sizes.
Gold metal findings of various designs (palm trees, playboy bunnies, etc).
A stray pack of striping tape.

Everyone of the carousels are filled with the pearls, rhinestones and microbeads.  There are several "pill minders" that also hold a little bit of everything.

As we all know, with some of these products a little goes a long way.  I've had some of this stuff for a long time and newer stuff was acquired because of a good sale or the results of an opportunistic buy.  That's my story and I'm sticking to it!!!

Crocus Inspired Concrete Nails

Crocus, concrete?  crocus, concrete?  crocus, concrete?  Um yup!


Originally I was thinking Spring when I saw the crocus in bloom next to my front porch.  But I wanted to use the sand again because I really like the way the texture feels.  I know, it is the damnedest thing since I'm such a buff for a simple creme colored mani.  Anywho I decided "to hell with it" and just rolled with it.

Enough of the jabber, here's a list of the supplies used;

Base Coat
White Polish
Acrylic Paints
White Crafting Sand
The Best Glue Ever
Top Coat

Follow the jump for more....


Monday, April 1, 2013

Hot Tip!! aka "Dumb Assed Moment"

Just a hot tip.

This evening I was carelessly using some Gorilla Glue and got some on my hand.  Okay so it was all over two fingers and nails front and back.  Don't ask me how I managed that!

Immediately wiped my hands off on a dish towel and when the towel stuck that is when I realized what I did.   Damn!  So begins my trying to get it off, damn that is one tough glue!!

Step 1 - Try hard to wipe it off.  No luck.

Step 2 - Pour acetone on my hand and try to rub it off.  No luck.

Step 3 - Pour dishsoap on my hand and try to wash it off.  No luck.

Step 4 - Repeat steps 2, 3 then 2, 3 and 4.  No luck.

Step 5 - Read label for words of wisdom.  "Avoid contact with skin", um no duh!  "Wipe off with a towel or use paint thinner."

Step 6 - OMG what are the odds of having the polish thinner on my kitchen counter because I was lazy and didn't put it in the basket?  (Silence of the Lamb moment here).

Step 7 - Use some nail polish thinner.  BaDaBing!!!!!  I'm golden!

Just glad I hadn't bothered to paint my nails since my acetone experiment earlier this evening.

OK you may now return to your regularly scheduled programming.....

Sunday, March 31, 2013

My Mani Basket of Goodies

OK so we all have different ways of organizing and storing our supplies.  I thought I'd start a series on how I organize and store my supplies.

What better way to start than with my basic manicure supplies?

Behold my basket of awesomeness...


I picked this basket up at the local Goodwill store for $1.00.  I think its intended use is for silverware.  Pffffft I have a drawer for that!  What better way to repurpose this than for a mani basket I ask???

In this basket is everything that I might need for a standard manicure.  Polishes I pick as needed.  If I'm in need of a nail repair I've got a different little basket for that.  Actually several depending on the type of repair.  (Did I mention that I'm a nail junkie?????)

If you have any questions on what's in the basket, ask away.  


You see that wooden framed tray?  That is my workspace.  Usually I'm sitting on the couch when working on my nails.  Whether polishing, painting or cleaning my cuticles, my supplies are on this tray.  For one, if I have to get up I just have to set one thing on the coffee table.  No worries about anything damaging my furniture.  

When not being used for my nails it occasionally has one of my laptops on it, can be used for breakfast in bed (it does have folding legs underneath it) or whatever else a nice large tray comes in handy for.  

It's just my thing and my way of keeping things together.


Acetone Experiment

So I've come across a few other blogs discussing the adding of glycerin to 100% pure acetone to make it less damaging/drying to the nails and cuticles.  As I mentioned in THIS POST , I add coconut oil to my acetone and am very satisfied with it.  However, I decided to try out the glycerin and a few other additions that I've not yet tried.

Mix #1 was my own coconut oil and acetone mix.  Worked like a charm as always.

Mix #2 was glycerin and acetone supersaturated.  Works well at removing the polish.

Mix #3 was emu oil and acetone supersaturated.  Works well at removing the polish.

Mix #4 was 100% pure aloe gel and acetone supersaturated.  Works well at removing the polish.

OK so all works well at the basic reason for using acetone, to remove nail polish.  It is the difference afterwords that is worth noting.

Follow the jump for the details.


Cherry blossoms

More like implied cherry blossoms. Did this mani 6 days ago and forgot to photo then so there in lies the explanation for it looking worn. (I've been a bit busy with my zoo.)

 I started with a base coat and two coats of white/black. I used two pink polishes and my fan brush to make an angled french tip then hand-painted on the branches and cherry blossoms. Shout out to Robin Moses for making this look simpler than it is!!!

Saturday, March 16, 2013

Have to admit....

I've been in a "creative block" mode. Despite 30+ years of painting my nails I'm still more of a fan of a simple paint job. Sometimes I feel inspired to do nail art but mostly I just like to have color on my nails. I've always taken pride in having nails that most women pay lots of money for (as my grandmother always said). Makes me wonder if I should even have a blog since most of what I post will be simple swatches. Meh~

Concrete Nails


So today I took off my concrete nails mani but only because it is time for a mani change.

While sporting this mani I did loads of dishes, bathed two 80+ pound dogs, laundry, housework and everything else housework wise that you can imagine and not one bit of chipping or visible wear on the mani.  I didn't think about photographing it until I was done removing it and for that I apologize.

Tonight I did a relaxing little mani that included cleaning up my cuticles and filing down the past weeks growth.  No big deal.  .

My nails are naked as I haven't decided what I want to do to them next.  For the moment I'm just moisturizing.  Perhaps tomorrow I'll decide on the lacquer that meets my nails.


Sunday, March 10, 2013

OPI - Stay the Night (Liquid Sand) *DIY* Improved


Well it didn't take me long to make improvements to the original liquid sand DIY.  But hey, that's what makes nail art fun right?


Without further ado here's a picture of the updated nail.

Basically the same steps were followed except that I  applied colored polish over the base coat then followed that with one dip in the original black sand mix.  I used a green polish so that the coverage could be seen.


With one dip I can see the need to add a bit more glitter to the mix.

The left side of the nail has a matte top coat whereas I left the right side with a hi-gloss finish.


Follow the jump for some more info and pictures.


OPI - Liquid Sand - Concrete Nail Art "DIY"


The possibilities are endless for textured nails !!!

So now I have a DIY for concrete nails.  Pretty simple actually.  Actually with this DIY I made some improvements for the "OPI - Stay the Night (Liquid Sand) *DIY* and that will be my next post.  That'll teach me to rush to put up some content.  LOL


Follow the jump for the tutorial for "Concrete Nails".


Thursday, March 7, 2013

OPI - Stay the Night (Liquid Sand) *DIY*

This technique has been improved upon HERE


So I saw swatches of "Stay the Night" and loved the look but not the price tag attached.  Sorry but when it comes to nail polish I'm not big on spending more than a few bucks on a bottle for a polish that I'll never use all of it.

A while back I was measuring out some Chia seeds and that got me thinking about what I was calling "Liquid Lava".

Those that know me know just how determined I can be when I want something and they also know I'm creative.

Chia seeds weren't going to cut it and not even a consideration but they did set me to thinking (occasionally a dangerous thing!!).  Fast forward a bit and I was going thru yet another box of crafting supplies when I pulled out something that I don't even remember why I have it...black sand.

Check out my DIY after the jump.

Wednesday, March 6, 2013

Working on a DIY tutorial

Waiting for my camera battery to recharge for some better quality pictures of the end result.  :-)

I think ya'll are gonna like this.  Should have it up later this evening.

Monday, March 4, 2013

Gradient Manicure


Here's two gradient manicures I did earlier this year.

These are gradients, NOT ombre.

Each one is using 6-7 different polishes.

Saturday, March 2, 2013

Confessions of a nail polish hoarder

The shelves of green nail polish hoarding.
Got green???


So this is green mani time for me.  While it is pretty obvious that I have a lot of green polishes, do not be misguided enough to think that this is all of them.  hahaha

Right now I'm sitting here with naked nails contemplating todays mani.  We shall see what I come up with.......  

Nugget Nails

I call this style "nugget nails" because of the gold leafing being torn into small nugget like shapes.  This type of nail art is one  I've been doing since the 80's. 


For this particular mani I added colored rhinestones to be viewed as Christmas bulbs.  I didn't particularly like it but didn't hate it enough to remove it right off.


Christmas


Here we have a mani I did on a friend.  She told me she wanted Christmas trees on her fingers.

 Her thumbs were last minute decisions.

Friday, March 1, 2013

Alrighty then!


is now live!

Been a long time since I've had to mess with DNS settings.

Now if I could just get my layout the way I want it.....


Sponging Fun


Just a little fun sponging fun.


French tips


Just a couple of french tips I've done.


Galaxy nails


My niece did galaxy nails on me and I did them on her.  :-)

A nice design that I see a lot of potential for.

Snow inspired


A design inspired by a snowy day.

Blue base coat with the rest of the colors sponged on.


Peacocks Nails


This was my first and so far only attempt at peacock nails.  Standard black base and the feathers were done with acrylics.

While they are far from perfect I did find this to be an easy design to paint once I got in my groove.


Thursday, February 28, 2013

Valentines Theme


DISCLAIMER:  Photos taken before cuticle cleanup.  
Please don't hold it against me, I hadn't decided to blog yet.  Also that I am a normal every day type of woman that has a day job that at times wreaks havocs on my nails.  My nails and cuticles are not always perfect thanks to exposure to weather and animals.


 The mani on the upper right was inspired by Nails by Linda165.

Mani on the left I'm sure was inspired by something I've seen but I'm not exactly sure.

The hand painting was done with acrylic paints.

Wednesday, February 27, 2013

Some of my zoo A.K.A. Welcome to the Jungle


Just sharing some of my zoo.


Any wonder about me and bright colors???

A bit of bamboo


This is a mani I sported last week.

Not my best work but I was just playing around with foil and stamps.

I started with base coat using an old Orly polish then using foil glue I painted on some bamboo then applied a gold foil.  That was followed by stamping on a bamboo pattern in black and white.

Wicked Hot Nails...


...to go with the wicked hot dress in my profile photo. This was for Valentines evening out with the girls.

Simple and elegant using a black base coat and clear rectangular/square/teardrop rhinestones.

Tuesday, February 26, 2013

Getting naked!

My naked nails


My naked nails or as they've been called before claws and talons. This picture is from a few months ago they have since been filed down a bit and any repairs have long since grown out.

Taking the bite out of pure acetone

Now that I've got the explanation of the family curse out of the way it is time for me to get busy with some content so here we go.

Blah, blah, blah you know the difference between non-acetone, acetone and pure acetone right?  If not Google it so I can spare others of the redundancy.  OK then what can I post about polish remover that isn't redundant?  I'm glad you asked!

For the most part I use pure acetone unless I have a repair in place.  I keep three separate dispensers.  One with non-acetone, one pure acetone and one pure acetone + (my own little concoction.)

I love, love, love how quickly pure acetone takes off the polish but hate the cold, drying and skin whitening effects it leaves behind when in its pure form.  Anyone else feel the same way?

The Family Curse

Why would I consider my nails the family curse you may ask?

Well I inherited my nails from the maternal side of the family.  My grandmother always had strong, beautifully curved nails as did my mother.  I don't think I've ever seen either of them with naked nails.

As the consummate tomboy my nail care and length varied.  When I didn't grow out and paint my nails my grandmother would yell at me, "Women pays lots of money to have what you have naturally.  Grow your damned nails".  When I did grow and paint my nails I'd get yelled at for my polish choices.  My grandmother was big on pinks and lavenders and here's me sporting neon colors, blacks, blues, greens and well you get the picture.  So I was damned when I did and damned when I didn't.

I am happy to say that I had her wearing some awesome nail art before she passed away.  Hell I even did stained glass nails using loose glitter and she loved it.  I miss you Mimi.

Well that's the story behind the family curse.  :-)